GIVEAWAY RIGHTS BUNDLE
The 1st Series Access
Thank you for grabbing our Giveaway Rights Bundle series!
Please find all the plugins information below.
AI ImageMaker WP Plugin + Exclusive Giveaway Rights
* Please unzip/extract the file after you download it
Direct Download URL:
https://newsblogempire.s3.amazonaws.com/WTPV3/GRBundle/AI-ImgMkrWP-v103File-UserGuide.zip
* If you are giving away this plugin as bonus, give them that URL above
Editable User Guide:
You can edit/rebrand the User Guide file so it will have your Name and your Website URL instead of ours. To have this Editable User Guide, make sure you grab the Custom Plugin Branding here.
Graphic URL to be used on your Landing/Product Page:
https://d2c136330chs5t.cloudfront.net/AITools/aiimgmkrwtp-cover-1.png
Bonus Graphic:

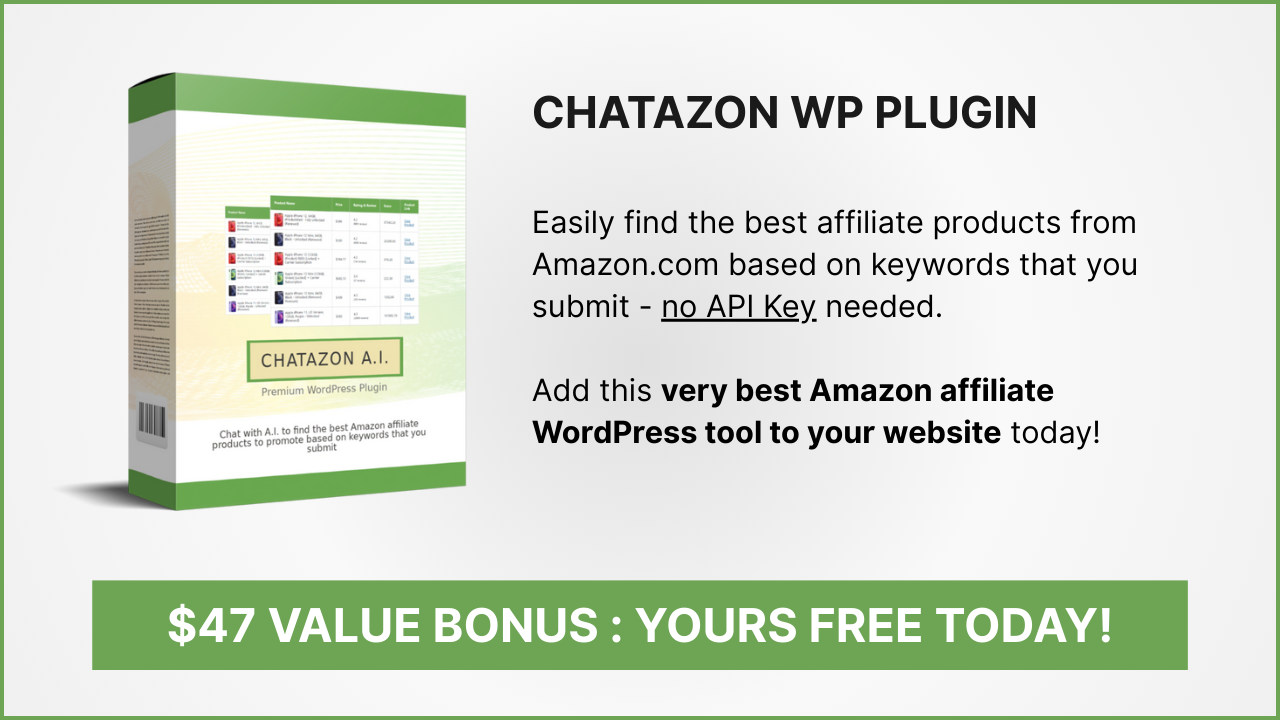
ChatAzon WP Plugin + Exclusive Giveaway Rights
* Please unzip/extract the file after you download it
Direct Download URL:
https://newsblogempire.s3.amazonaws.com/WTPV3/GRBundle/ChatAzonWP-v103-File-Guide.zip
* If you are giving away this plugin as bonus, give them that URL above to your customer
Editable User Guide:
You can edit/rebrand the User Guide file so it will have your Name and your Website URL instead of ours. To have this Editable User Guide, make sure you grab the Custom Plugin Branding here.
Graphic URL to be used on your Landing/Product Page:
Bonus Graphic:
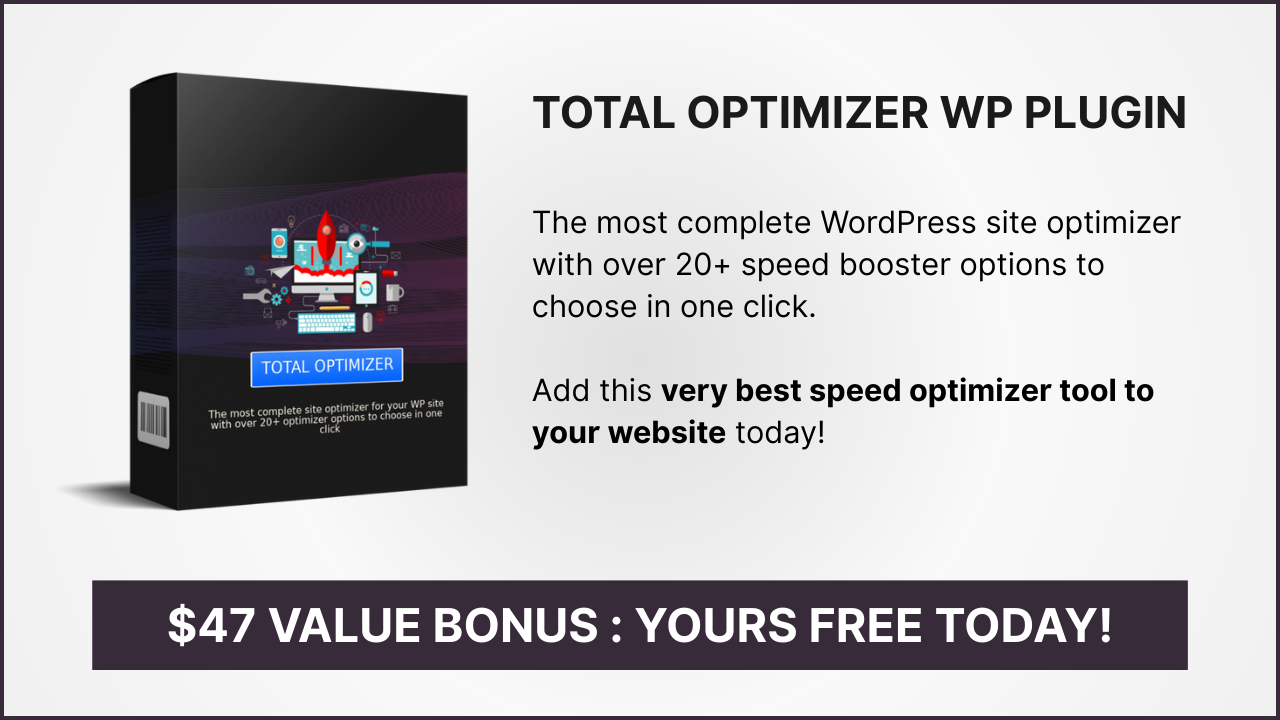
WP TotalOptimizer Plugin + Exclusive Giveaway Rights
* Please unzip/extract the file after you download it
Direct Download URL:
https://newsblogempire.s3.amazonaws.com/WTPV3/GRBundle/WPTotalOptimizer-v102-File-UserGuide.zip
* If you are giving away this plugin as bonus, give them that URL above to your customer
Editable User Guide:
You can edit/rebrand the User Guide file so it will have your Name and your Website URL instead of ours. To have this Editable User Guide, make sure you grab the Custom Plugin Branding here.
Graphic URL to be used on your Landing/Product Page:
https://filehost-2.s3.amazonaws.com/totaloptimizer-cover-1.png
https://filehost-2.s3.amazonaws.com/totaloptimizer-cover-2.png
Bonus Graphic:
How to Offer The Plugin For Free In Exchange For People's Email Address
Now that you have those plugins with Giveaway Rights license, you can monetize them to start building your own subscribers lists either using an Optin Form directly, or using the WarriorPlus platform.
Using an Optin Form directly is much more recommended..
.. But here I want to share with you about using the WarriorPlus platform.
Why using WarriorPlus platform, Leo?
Because when you use WarriorPlus to create a free product, your WarriorPlus sales stats will increase:
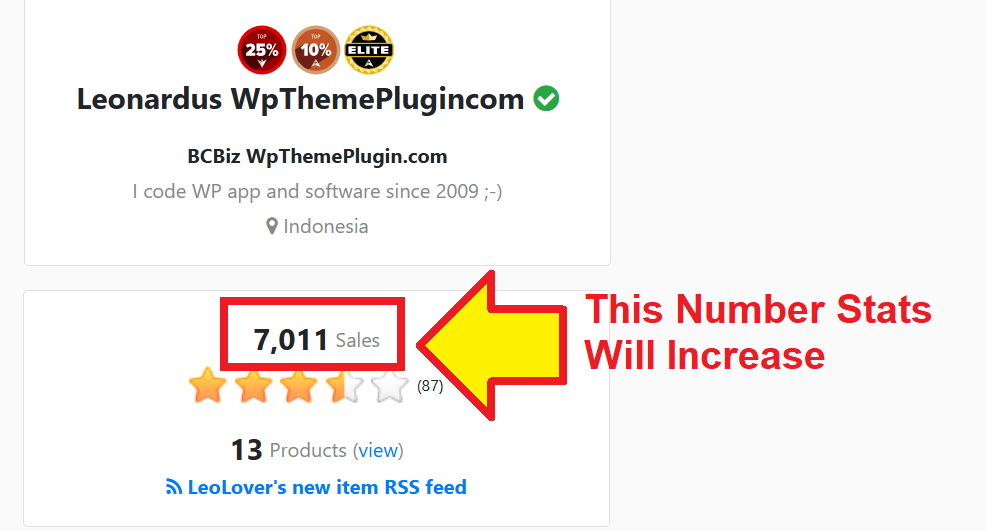
Yep, even though you'll be creating a Free Product, when someone "buy" that free product, WarriorPlus still count that free download as a "SALE". Therefore your WarriorPlus stats will increase.
That situation will help you to grow your WarriorPlus Vendor statistic..
.. Over time if you constantly build your business, you will see your WarriorPlus Vendor account has 100+ sales or even more which gives you a fine foundation for a bigger launch later :o)
Trust me, a fine foundation is extremely important if you ever wanted to have a bigger launch in the future.
Because no affiliate in WarriorPlus will be willing to promote a product from a Vendor who has 0 sales.
The Big Picture of How To Do That:
1.) Setup a new Free Product inside WarriorPlus
2.) Connect your Autoresponder to that Free Product (that way, when people"bought" the free product, they will be added to your autoresponder list automatically)
3.) Setup a Landing Page or Product Page to offer the plugin for free
I won't go through about creating a Landing Page though.. You can use the free Gutenberg editor in WordPress, use Elementor or other page builder to do that. Make sure to utilize the Cover Graphics that I provided above if you want to offer the plugin as a free product.
Connect Your Autoresponder To WarriorPlus
WarriorPlus offers a wide-range of Autoresponder integration. You can go for Sendiio, GetResponse, or Aweber. If you don't have an account there, you need to sign up first. GetResponse and Aweber offer a free trial, heck their lowest pricing plan is also very affordable.
If you would like to use GetResponse, use this link for a 30-days free trial.
Okay now let's go ahead connecting your Autoresponder, shall we?
Just follow these steps:
1.) Log in to your WarriorPlus account, and visit this link: https://warriorplus.com/account/services?
2.) Click the green button that says "New Services", and select your autoresponder
3.) Then authorize WarriorPlus to connect with your autoresponder
DONE.
Create Free Product In WarriorPlus
1.) Log in to your WarriorPlus account, and visit this link: https://warriorplus.com/vendor/products/new
2.) Fill in the Product Details as needed
3.) On Access URL field, input the download URL access of the plugin
4.) On Pricing -> Sale Type, select Free Product

5.) On "Integrations & Tracking" -> Email/Webinar integration, click New Connection:

6.) Select your Autoresponder name and click Save.
7.) Fill all required Product Fields as needed, and click Save to save the product
Alright, now the product is added inside WarriorPlus.
Now you need to create an OFFER, with that product inside the offer.
Create OFFER In WarriorPlus
1.) Log in to your WarriorPlus account, visit this link: https://warriorplus.com/vendor/offers/new?
2.) Fill in all the Offer Details (offer title, description, category, etc).
NOTE: On Availability, make sure to TURN OFF (disable) the Public setting since it's only a free OFFER.
3.) For the "Salespage URL", input the URL of Landing Page or Product Page.
4.) Then click the Create button.
5.) After you click the Create button until finish, you will arrive on the Offer Editor page. On the "Main Page" section, click Add Product then select the FREE Product that you have added previously.

6.) Once your Offer is created, then WarriorPlus will provide you with the Buy Image URL and also the Buy Now URL for that offer..
Click the "Get Code" button, and WarriorPlus will provide you with "Buy Now" HTML code.

7.) Copy that Buy Now HTML code and paste it into your Landing Page or Product Page. Remember to save or update the Landing Page.
8.) Still inside your WarriorPlus Offer setting page, click the "Get Code" button again. After that select "Salespage Disclaimer":

9.) Copy the script that WarriorPlus provide to you. Then paste it into your Landing Page or Product Page, preferable near the footer.
10.) Now go back to your WarriorPlus Offer Setting, and click the small Verify button located just beside the Get Code button:

After WarriorPlus successfully verified that Buy Image, Buy URL and Disclaimer are added on your SalesPage, the verify button will turned into a green checkmark
Alright now your OFFER is ready!
Time to promote and share your Landing Page as now people can download the plugin that you offer for free. You can go for a free method such as sharing on Threads, X, etc. Or go for a paid method such as Solo Ads, traffic exchange or even using FB Ads.

Have a good one, my friend!
Leo (WpThemePlugin)
https://wpthemeplugin.com/
Copyright CloudIMTools and WpThemePlugin.com
